Get started in three steps
Set up integration and create your first shipping label in just a few minutes.Step 1: Install and connect your account
Install the app
Install the app
Add to your Shopify store from the Shopify App Store.
- Search for "" in the App Store
- Click Install and follow the installation prompts
- Grant the required permissions for orders, products, and fulfillment data
Connect your Australia Post account
Connect your Australia Post account
Link your existing Australia Post MyPost Business account to start creating labels.

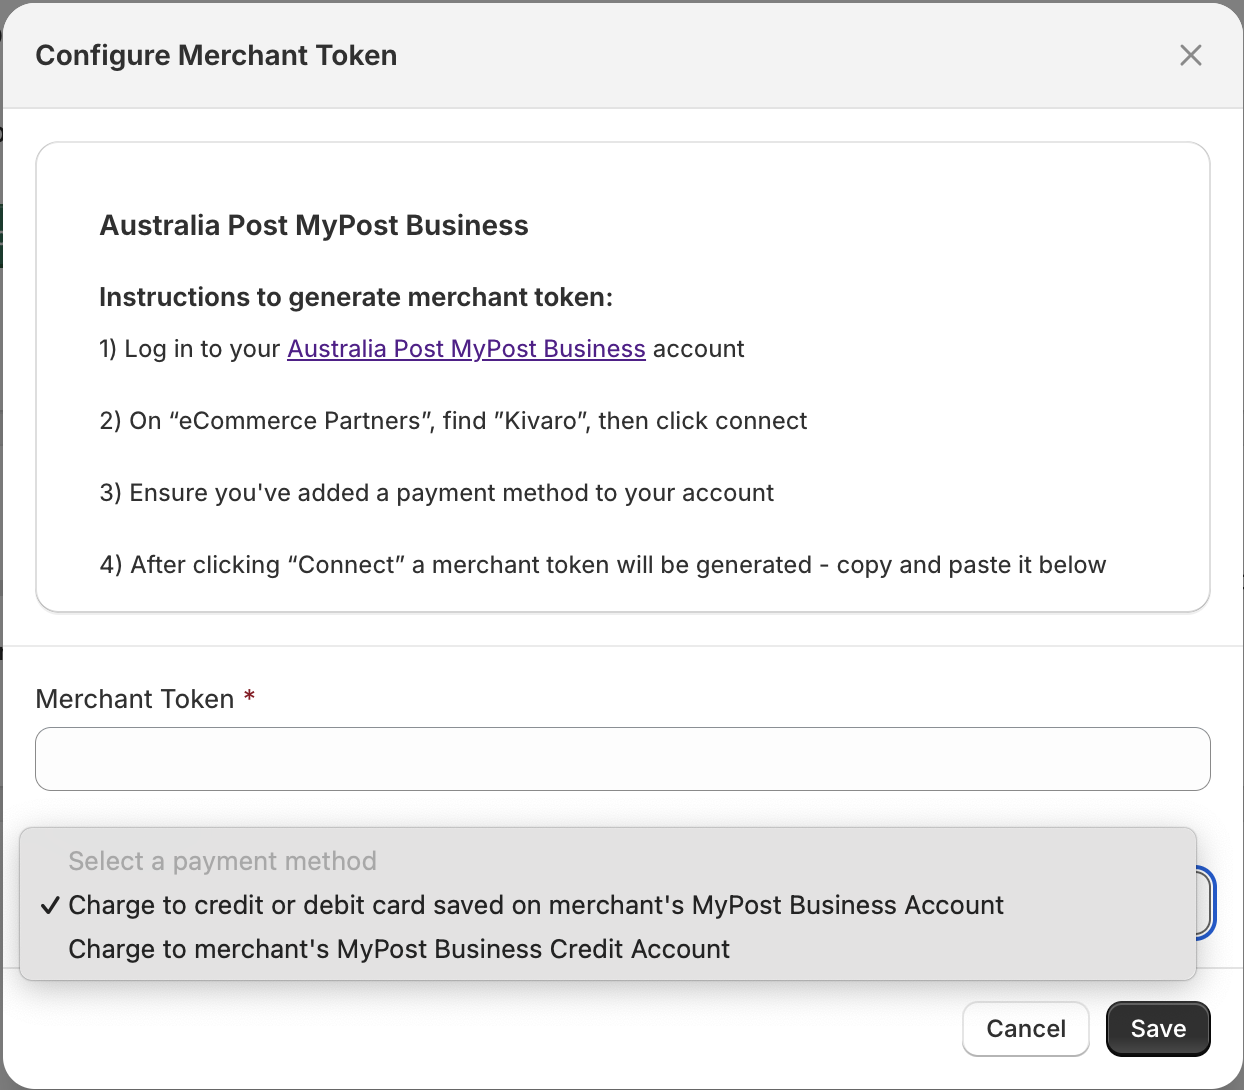
- Log in to your Australia Post MyPost Business account
- Navigate to “eCommerce Partners” and find ""
- Click Connect and copy the generated merchant token
- Paste the token in the app and select your payment method
Step 2: Configure your settings
Set up default preferences
Set up default preferences
Configure your shipping preferences to streamline the label creation process.
- Choose your default print layout (A4 or A6)
- Select preferred shipping services (Parcel Post, Express Post)
- Set up signature and transit cover options
- Configure package preferences (flat-rate or custom)
Create custom packages
Create custom packages
Set up custom packages for your specific shipping needs.
- Go to Settings in the app
- Click Add Package under Custom Packaging
- Define dimensions, weight, and package type
- Set as default for automatic selection
Step 3: Create your first label
Generate a shipping label
Generate a shipping label
Now you’re ready to create your first shipping label!
- Navigate to any unfulfilled order in your Shopify admin
- Click Create shipping label in the order details
- Review package details and adjust if needed
- Select shipping service and any additional options
- Click Buy shipping label to generate and download
Use Admin Actions
Use Admin Actions
For seamless integration, use the “Create Shipping Labels” admin action:From Orders Listing Page:
- Select one or more orders
- Click More actions → Create Shipping Labels
- Click More actions → Create Shipping Labels
Next steps
Now that you’re set up, explore these powerful features to streamline your shipping:Shipping Rules
Automate package selection and shipping options based on order conditions.
Shopify Flow Automation
Automatically generate shipping labels when orders are ready to fulfill.
Bulk Operations
Create shipping labels for multiple orders simultaneously.
Split Shipments
Divide orders into multiple shipments when items need separate fulfillment.
Packing Slips
Generate professional packing slips for your orders to include with shipments.
International Shipping
Handle customs declarations and export documentation for global orders.
Tracking Page
Monitor all shipments with real-time tracking updates (Paid plans only).
Complete Setup Guide
Comprehensive guide covering all features, advanced configuration, and
troubleshooting.
Need help? Contact our support team or book
a free consultation to get expert guidance.